


Multiple Robot ROS 2 Navigation#
Support Limitations
Multiple Robot ROS 2 Navigation with Isaac Sim is fully supported on Linux. On Windows, Multiple Robot ROS 2 Navigation with Isaac Sim could potentially produce errors.
Learning Objectives#
In this ROS 2 sample, we are demonstrating NVIDIA Isaac Sim integrated with the ROS 2 Nav2 stack to perform simultaneous multiple robot navigation.
Getting Started#
Prerequisite
Completed ROS 2 Navigation for ROS 2 Nav2 with a single robot. So that
ROS 2 and Nav2 are installed.
ROS 2 bridge is enabled.
ros2_wsis built and sourced (see Build the ROS workspace) so thatcarter_navigationandisaac_ros_navigation_goalare inside your workspace.
Note
In Windows 11, depending on your machine’s configuration, RViz2 might not open properly.
Occupancy Map#
We generate the map of both the Hospital and Office environments using the Occupancy Map Generator extension within NVIDIA Isaac Sim.
Follow the steps depending on what environment you would like to use.
Go to the Isaac Sim Content browser and click Isaac Sim>Environments>Hospital. Search for hospital and drag and drop the hospital.usd asset into the scene. Ensure that it is placed at the origin by zero’ing out all the Translate components in the Transform Property.
At the upper left corner of the viewport, click on Perspective. Select Top from the dropdown menu. Select the /Hospital prim and press F to zoom to selection. Adjust the camera view as needed.
Go to Tools > Robotics > Occupancy Map.
In the Occupancy Map extension, ensure the Origin is set to
X: 0.0, Y: 0.0, Z: 0.0. For the lower bound, setZ: 0.1. For the Upper Bound, setZ: 0.62. Keep in mind, the upper bound Z distance has been set to 0.62 meters to match the vertical distance of the Lidar onboard Carter with respect to the ground.Select the Hospital prim in the stage. In the Occupancy Map extension, click on BOUND SELECTION. The bounds of the occupancy map should be updated to incorporate the selected Hospital prim.
The map parameters should now look similar to the following image:

A perimeter will be generated and it should resemble this image (Top View):

Go to the Isaac Sim Content browser Isaac Sim>Environments>Office. Search for office and drag and drop the office.usd asset into the scene. Ensure that it is placed at the origin by zero’ing out all the Translate components in the Transform Property.
At the upper left corner of the viewport, click on Perspective. Select Top from the dropdown menu. Select the /Office prim and press F to zoom to selection. Adjust the camera view as needed.
Go to Tools > Robotics > Occupancy Map. In the Occupancy Map extension, set the map parameters to be similar to the following image:
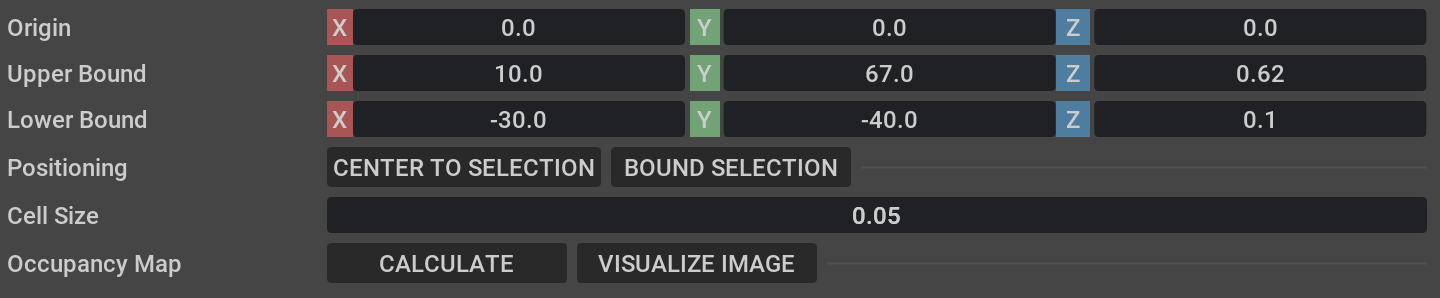
Keep in mind, the upper bound Z distance has been set to 0.62 meters to match the vertical distance of the Lidar onboard Nova Carter with respect to the ground.
A perimeter will be generated, verify that it resembles this image (Top View):
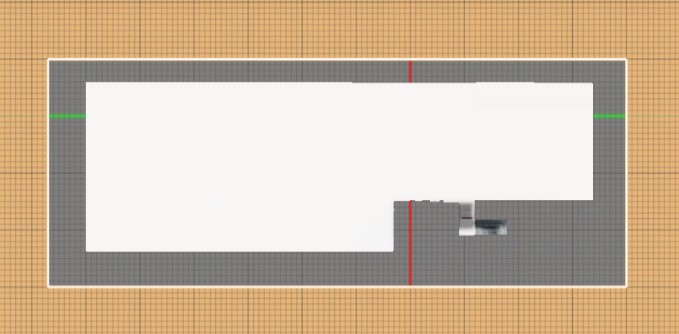
After the setup for either environment is complete, click on CALCULATE followed by VISUALIZE IMAGE. A Visualization popup will appear.
For Rotate Image, select 180 degrees and for Coordinate Type select ROS Occupancy Map Parameters File (YAML). Click RE-GENERATE IMAGE. Occupancy map parameters formatted to YAML will appear in the field below. Change the image name to your preference. Copy the full text.
Click Save YAML and save the YAML file to the maps directory, which is located in the sample
carter_navigationROS 2 package (carter_navigation/maps/carter_hospital_navigation.yaml).Back in the visualization tab in NVIDIA Isaac Sim, click Save Image. Set the same image name as in the map parameters and choose to save in the same directory as the map parameters file.
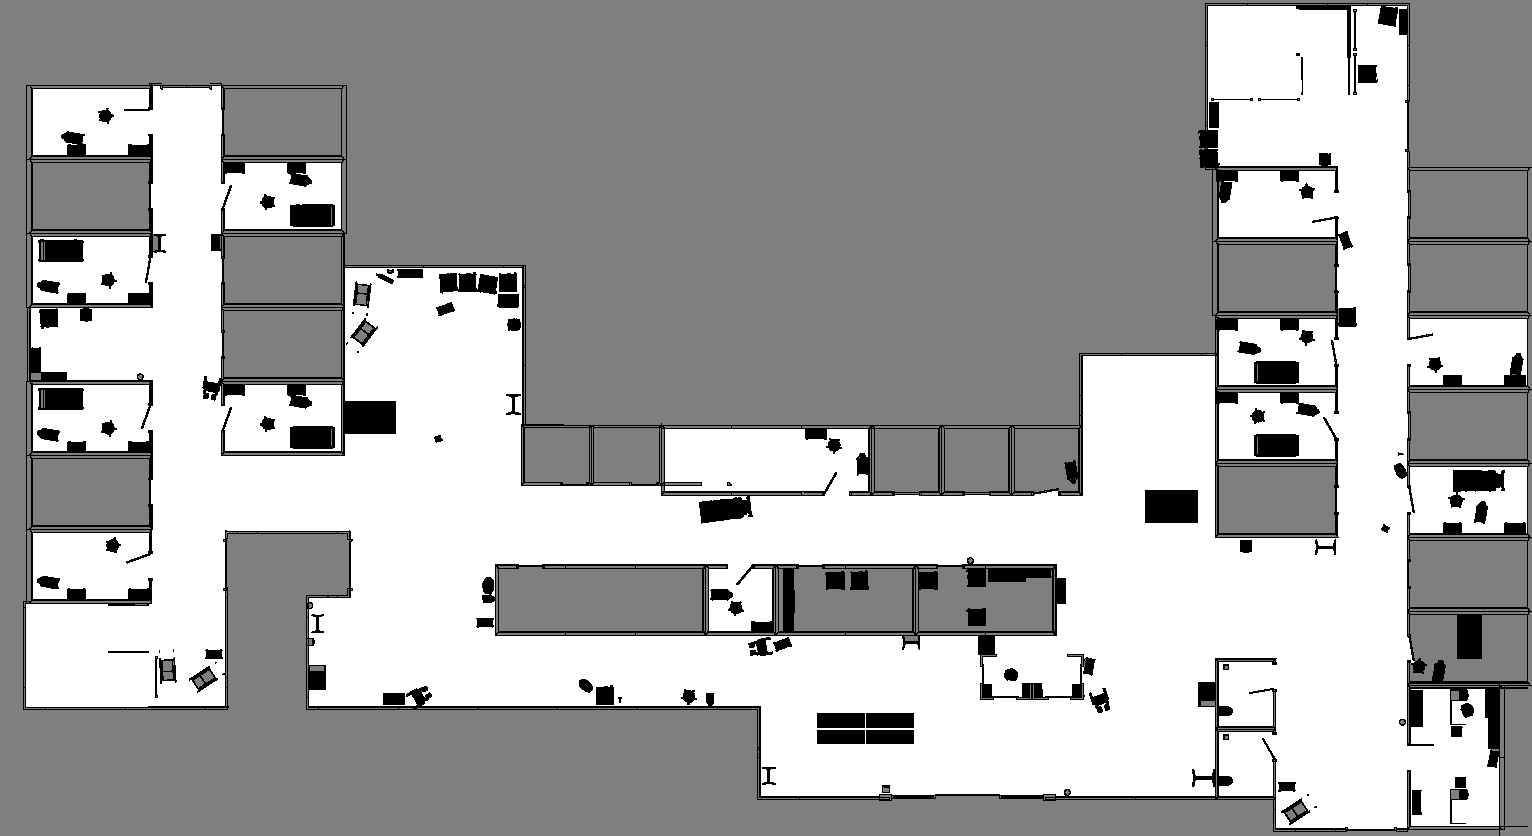
The final saved image of the Hospital environment will look like the following:
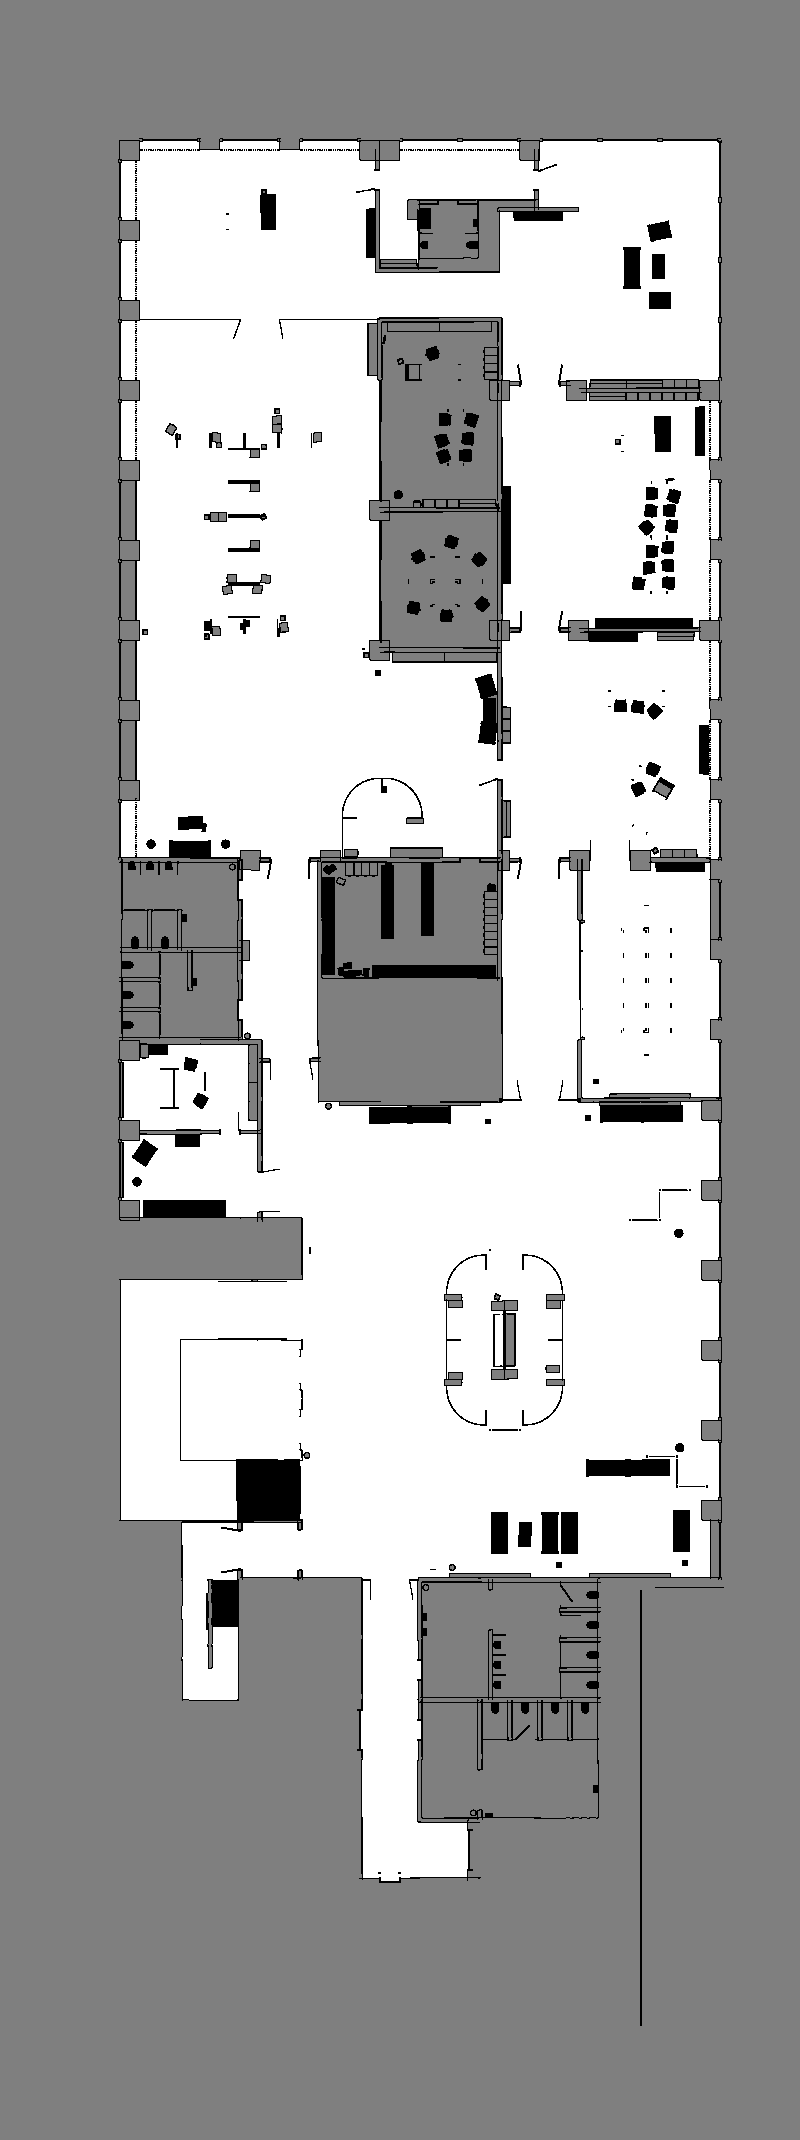
The final saved image of the Office environment will look like the following:
An occupancy map is now ready to be used with Multiple Robot ROS 2 Navigation.
Sending Goals Programmatically for Multiple Robots#
Note
The isaac_ros_navigation_goal package is fully supported on Linux. On Windows, running this package could potentially produce errors.
The isaac_ros_navigation_goal ROS 2 package can be used to set goal poses for multiple robots simultaneously. Refer to Sending Goals Programmatically to learn about the configurations and parameters of this package.
To send navigation goals to multiple robots simultaneously, include
isaac_ros_navigation_goal.launch.xml once for each robot in a new XML launch file. Set a
unique namespace and initial_pose for every include. For example:
<launch>
  <include file="$(find-pkg-share isaac_ros_navigation_goal)/launch/isaac_ros_navigation_goal.launch.xml">
    <arg name="namespace" value="carter1"/>
    <arg name="map_yaml_path" value="/path/to/map.yaml"/>
    <arg name="initial_pose" value="[0.0,0.0,0.0,0.0,0.0,1.0,0.0]"/>
  </include>
  <include file="$(find-pkg-share isaac_ros_navigation_goal)/launch/isaac_ros_navigation_goal.launch.xml">
    <arg name="namespace" value="carter2"/>
    <arg name="map_yaml_path" value="/path/to/map.yaml"/>
    <arg name="initial_pose" value="[0.0,2.0,0.0,0.0,0.0,1.0,0.0]"/>
  </include>
  <include file="$(find-pkg-share isaac_ros_navigation_goal)/launch/isaac_ros_navigation_goal.launch.xml">
    <arg name="namespace" value="carter3"/>
    <arg name="map_yaml_path" value="/path/to/map.yaml"/>
    <arg name="initial_pose" value="[0.0,-2.0,0.0,0.0,0.0,1.0,0.0]"/>
  </include>
</launch>
Update the map path and initial poses for the hospital or office scenario. The action name and
initialpose topic are relative, so each include communicates with the Nav2 stack in its own
namespace.
Note
If goal_generator_type is RandomGoalGenerator, a goal text file is not used. If
it is GoalReader, set a separate goal_text_file_path for each robot.
Save the new launch file in the
isaac_ros_navigation_goal/launchdirectory.From the ROS workspace root, rebuild the package and source the updated workspace so ROS 2 can discover the new launch file:
colcon build --packages-select isaac_ros_navigation_goal
source install/setup.bash
Run the launch file using the filename you selected. For example:
Important
Before running the following command, ensure you have run steps 1 to 4 from Multiple Robot ROS 2 Navigation Setup.
ros2 launch isaac_ros_navigation_goal multiple_robot_navigation_goal.launch.xml
Summary#
In this tutorial, we covered running multiple robots with ROS 2 navigation stack.
Next Steps#
Continue on to the next tutorial in our ROS 2 Tutorials series, ROS 2 Navigation with Heightmap Importer.
Further Learning#
To learn more about Nav2 refer to the website: https://nav2.org/
Standalone Python scripting version: Multiple Robot ROS 2 Navigation. With this approach you have the ability to manually control the timestep and rate at which ROS components are published.