Adding Props#
Learning Objectives#
This tutorial shows how to add objects to the scene and configure them for simulation.
10-15 Minute Tutorial
Adding Rubik’s Cube#
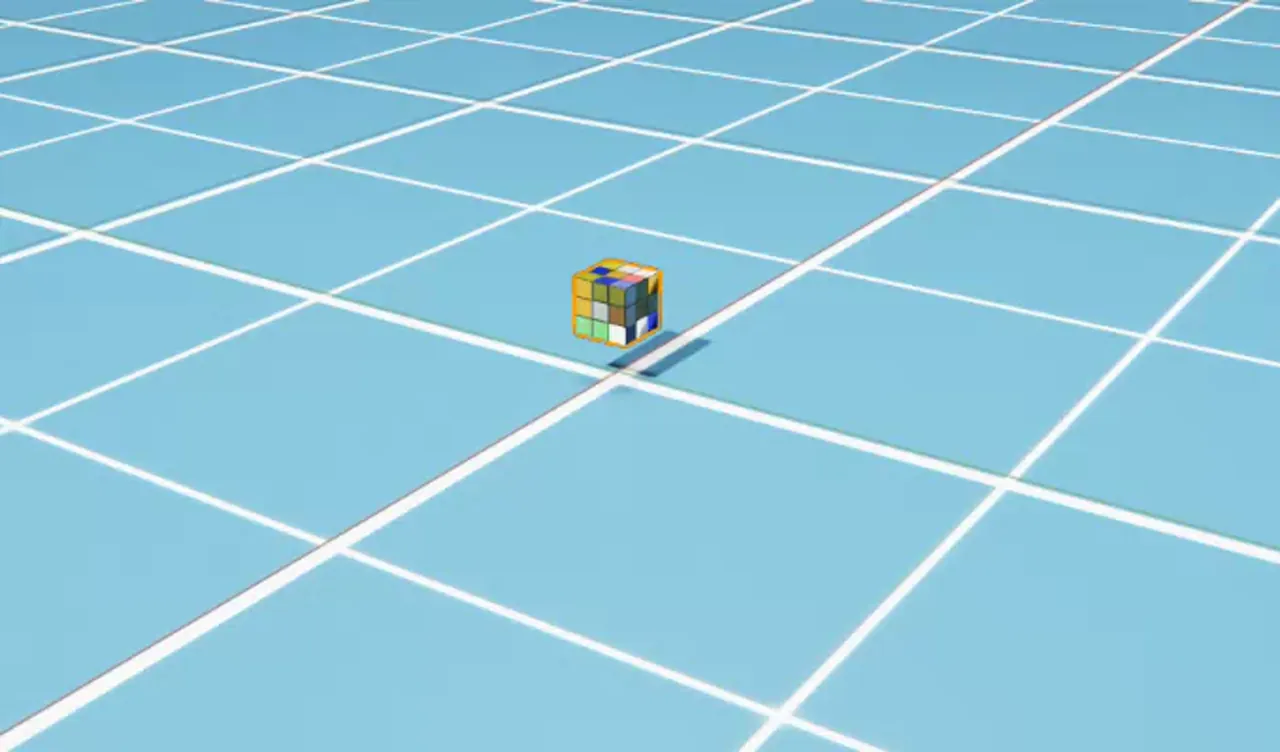
Start by adding a Rubik’s Cube to the scene.
Create a new stage on Isaac Sim by clicking on the File tab and then clicking on New Stage.
In the Content Browser, go to
Isaac Sim>Props>Rubiks_Cube>rubiks_cube.usdand drag and drop therubiks_cube.usdfile into the stage. This will add a Rubik’s Cube to the scene as a payload.Left click on the Rubik’s Cube and in the properties panel, set the
Positionto(0, 0, 0.1).On the stage, right click
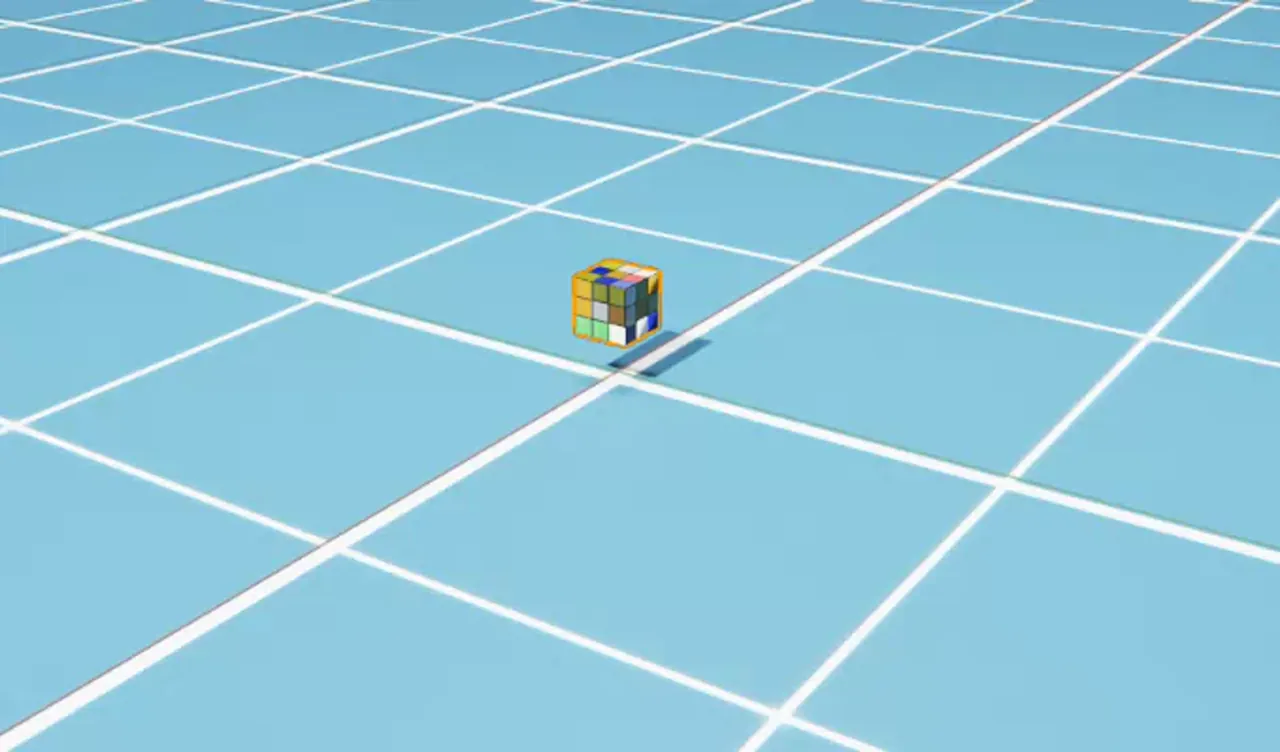
Create>Isaac>Environment>Flat Gridto create a flat ground.Click
PLAYto start the simulation, you will see the Rubik’s Cube is not falling to the ground. This is because the Rubik’s Cube is not a rigid body.Click
STOPto stop the simulation.
Configure Physics Properties#
Add Rigid Body Properties#
Right click on the Rubik’s Cube and select
Add>Physics>Rigid Body. This will add a rigid body attribute to the Rubik’s Cube and it will be affected by physics.Now, click
PLAYto start the simulation, you will see the Rubik’s Cube fall through the ground, this is because the Rubik’s Cube does not have a collision shape. ClickSTOPto stop the simulation.
Add Collision Properties#
Right click on the Rubik’s Cube and select
Add>Physics>Collider Presets. This will add a collision attribute to the Rubik’s Cube and it will collide with other objects.Now, click
PLAYto start the simulation, you will see the Rubik’s Cube fall on the ground. ClickSTOPto stop the simulation.
Add Mass#
In addition to collision, you can also add mass, inertia, and center of mass to the Rubik’s Cube to configure its physical properties.
Right click on the Rubik’s Cube and select
Add>Physics>Mass. This will add a mass attribute to the Rubik’s Cube.In the properties panel, scroll down to the
Masssection and set theMassto0.1to make it weigh 100 grams.
Note
In addition to mass, you can also set the Density, Center of Mass, Diagonal Inertia, and Principal Axes of the object.
Setting the mass to 0 will make the simulation to compute it at runtime based on its volume (assuming 1000 kg/m^3 if density is not specified).
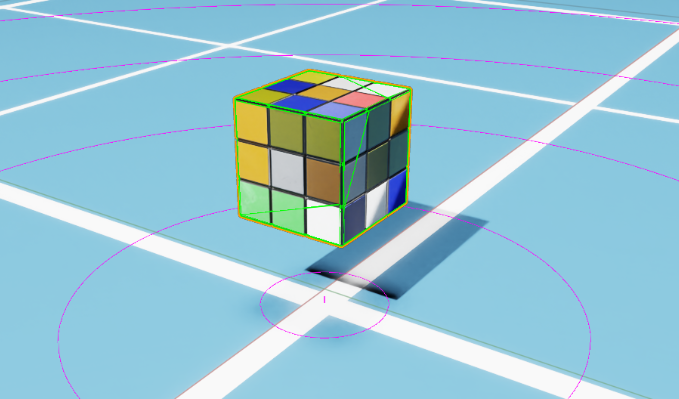
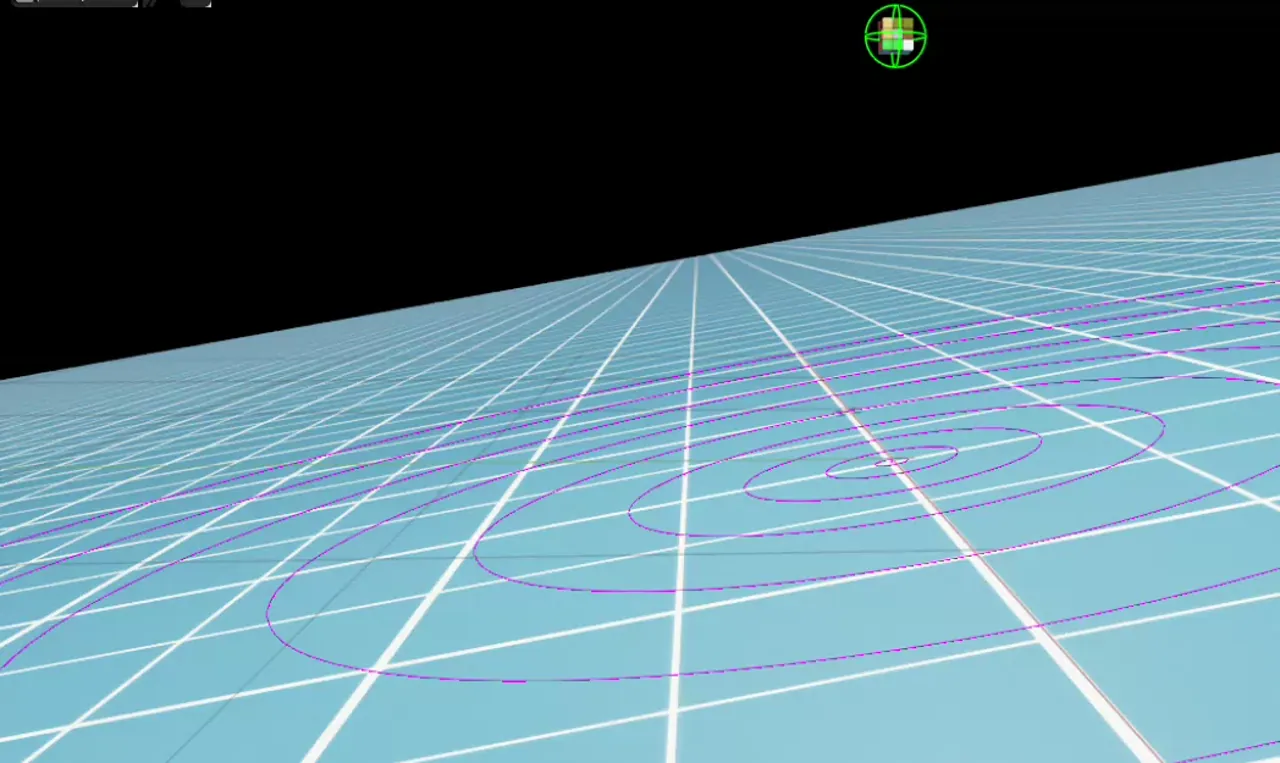
Visualize Collision Shapes#
Right click on the Eye on the top left of the viewport and select Show By Type > Physics > Coliders > All. This will show the collision shapes everything in the scene.
The ground plane’s collider is pink to denote it is a static object. The Rubik’s Cube is a dynamic object, so it falls to the ground and its collider is green.
Note
You can adjust the collider type by left clicking on the RubikCube mesh at World/rubiks_cube/RubikCube and scroll down to the Physics/Collider section, and select a different approximate type in the Approximation tab.
Customize Collider#
Let’s customize the collider for the Rubik’s Cube, by making it a sphere and easier to roll
Left click on the
RubikCubemesh atWorld/rubiks_cube/RubikCubeand scroll down to thePhysics/Collidersection, press thexon the right to delete the current collider.Left click on the
RubikCubemesh and selectCreate>Shape>Sphere. This will add a sphere shape around the Rubik’s Cube.Scroll down to the
Geometrysection and set theRadiusto0.07to make the sphere smaller to match the Rubik’s Cube.Add a Collider to the sphere by selecting
Add>Physics>Collider Presets.Hide the Sphere by unckecking the eye icon to the right of the sphere on the stage.
Slant the groundplane by going to
FlatGridand Click onToggle Offset Modeicon on the right ofTransformin the Properties panel, then setting theRotationto(10, 0, 0)to give it a 10 degree slope.Click
PLAYto start the simulation, you will see the Rubik’s Cube rolls on the ground. ClickSTOPto stop the simulation.
Add Physics Materials#
You can also apply surface properties to the Rubik’s Cube by adding a physics material.
Left click on the Rubik’s Cube and in the properties panel, set the
Positionto(0, 0, 1)to move it up.Right click on the Rubik’s Cube and select
Create>Physics>Physics Material. This will add a physics material attribute to the Rubik’s Cube. Drag it to theWorld/rubiks_cube/Looksfolder.In the properties panel, scroll down to the
Physics Materialsection and set theRestitutionto1to make it bounce.Select the
Spherecollider we created earlier and in the properties panel, scroll down to thePhysics/Physics material on selected Materialsection and select thePhysics Materialwe just created at/World/rubiks_cube/Looks/PhysicsMaterial.Click
PLAYto start the simulation, you will see the Rubik’s Cube rolls on the ground and bounces. ClickSTOPto stop the simulation.
Note
You can also set the Static Friction and Dynamic Friction as well.
Note
The completed asset is available at Isaac Sim > Samples > Rigging > RubiksCube > rubiks_cube.usd in the Content Browser.
What’s Next?#
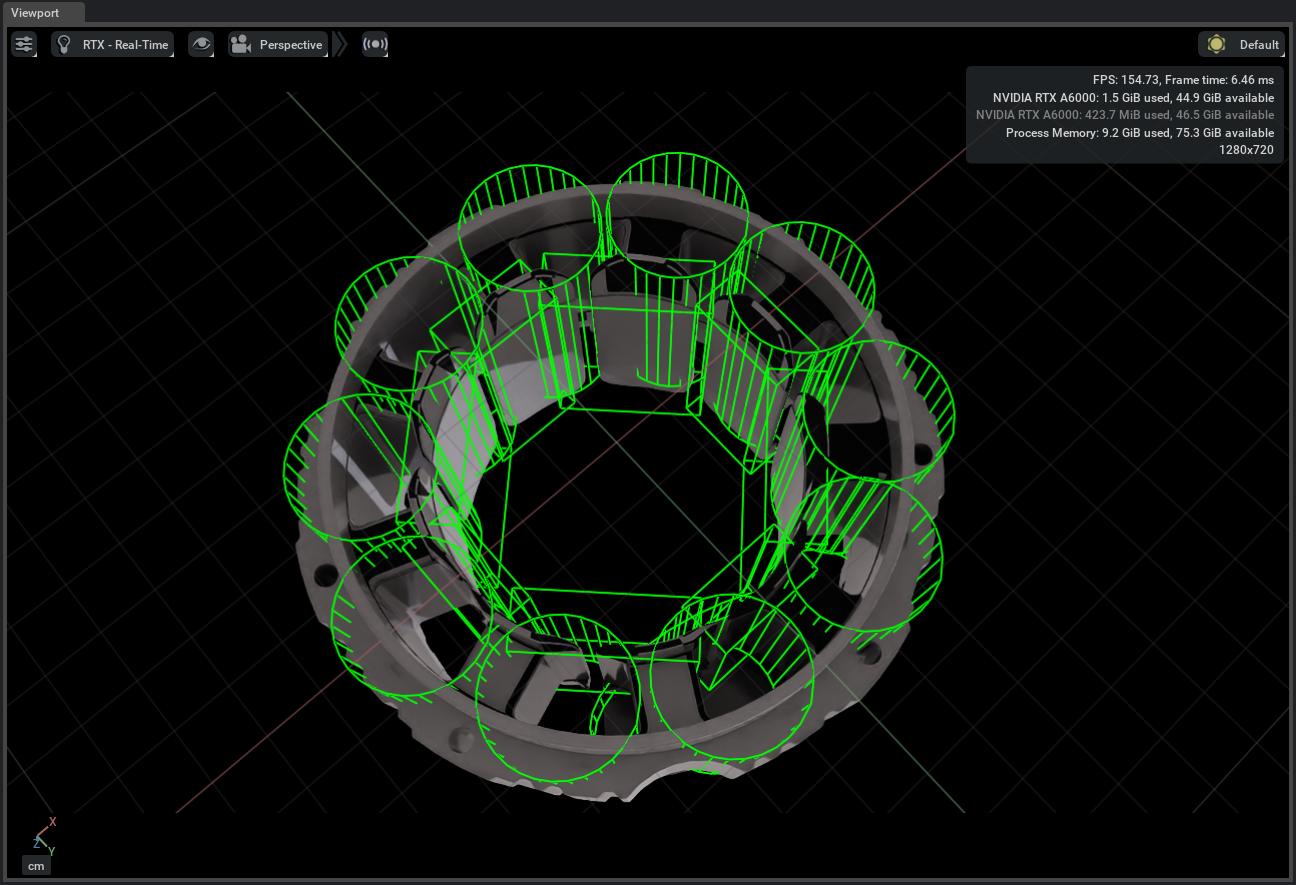
Extending from the concepts above, you assemble more complex collision shapes using basic shapes. For example, in the image below, we approximated a bearing collider using cylinders and rectangles.
Summary#
This tutorial covered the following topics:
Adding objects to the scene.
Configuring object physics properties.
Customize object collision shapes.
Apply physics materials to objects.