RTX Radar Sensors#
Isaac Sim supports RTX Radar sensors that simulate radar detections including per-point radial velocity. RTX Radar requires Motion BVH to be enabled for Doppler velocity estimation.
Warning
In Isaac Sim 6.0 GA, RTX Radar autotriggers regardless of omni:sensor:tickRate attribute. This will be corrected in a future release.
Note
The ROS2 RTX Radar Helper node does not expose a
frameSkipCount input. See Multi-Tick Rendering for the multi-tick
migration guide.
Learning Objectives#
In this tutorial, you:
Introduce RTX Radar sensors and their requirements.
Create an RTX Radar sensor and attach it to a robot.
Publish radar detections to ROS 2 as PointCloud2 messages with optional radial velocity metadata.
Visualize radar point clouds in RViz2.
Getting Started#
Important
Make sure to source ROS 2 appropriately from the terminal before running Isaac Sim.
Prerequisites
Completed the ROS 2 Cameras and RTX Lidar Sensors tutorials.
FASTRTPS_DEFAULT_PROFILES_FILEenvironment variable is set prior to launching Isaac Sim and ROS2 bridge is enabled.Review the RTX Radar Sensor documentation for details on RTX Radar sensor configuration.
Warning
RTX Radar requires Motion BVH to be enabled. Launch Isaac Sim from the command line with --/renderer/raytracingMotion/enabled=true (and the related flags). See How to Enable Motion BVH for the full set of flags and the standalone-Python equivalent. Without this, the radar sensor will fail to initialize.
Adding a RTX Radar ROS 2 Bridge#
Start with the turtlebot scene from the URDF Import: Turtlebot tutorial.
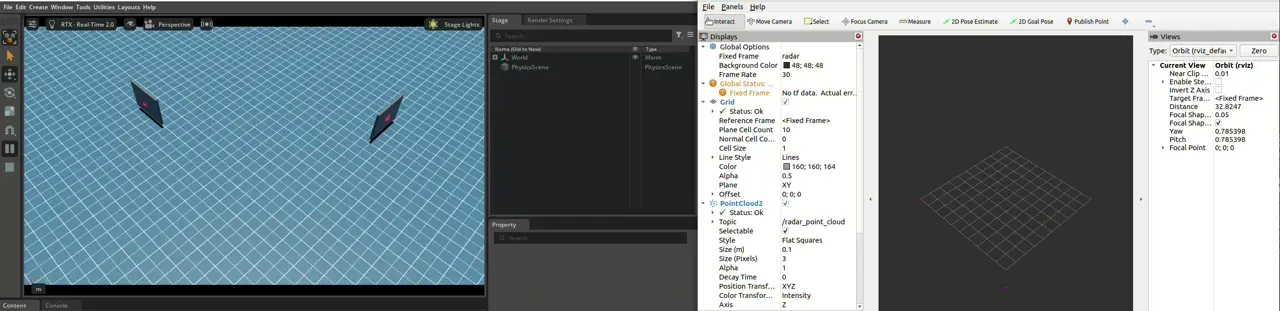
Add a Radar sensor by going to Create > Sensors > RTX Radar > NVIDIA > Generic RTX Radar.
To place the radar sensor on the robot, drag the Radar prim under
/World/tb3_burger_processed/Geometry/base_footprint/base_link/base_scan. Modify the Transform fields inside the Property tab as follows:Zero out any displacement.
Set Rotate Z to
90.0, so the Radar prim is pointing forward.Set Translate Z to
1.0, so the Radar prim is slightly above the robot base and returns are more visible.
Connect the ROS 2 bridge with the sensor output using OmniGraph nodes. In the Stage panel, select
/World/tb3_burger_processed/Geometry/base_footprint/base_link/base_scanso the new Action Graph is created adjacent to the radar sensor link, then open the visual scripting editor by going to Window > Graph Editors > Action Graph. Click New Action Graph and name itROS_RadarRTX; the resulting graph path is/World/tb3_burger_processed/Geometry/base_footprint/base_link/base_scan/ROS_RadarRTX. Parenting the graph to the sensor link it publishes for keeps the robot asset composable: when the Turtlebot is referenced into another scene, the radar graph travels with it instead of being stranded at the stage root. Add the following nodes to the graph:On Playback Tick: Triggers all downstream nodes after Play is pressed.ROS2 Context Node: Creates a ROS 2 context with a given Domain ID (default 0).Isaac Run One Simulation Frame: Runs the create render product pipeline once at the start.Isaac Create Render Product: Set thecameraPriminput to the RTX Radar prim created in step 2.ROS2 RTX Radar Helper: Publishes radar detections as a PointCloud2 message. Connect the render product output from step d. SetframeIdtobase_scanandtopicNametoradar_point_cloud.
Connect the nodes:
On Playback Tick > outputs:tick→Isaac Run One Simulation Frame > inputs:execInIsaac Run One Simulation Frame > outputs:step→Isaac Create Render Product > inputs:execInIsaac Create Render Product > outputs:execOut→ROS2 RTX Radar Helper > inputs:execInIsaac Create Render Product > outputs:renderProductPath→ROS2 RTX Radar Helper > inputs:renderProductPath
Warning
Some users may experience a fatal crash when running the example. A description of the crash and a workaround are documented in Radar + Lidar frames-in-flight race.
After the graph has been set correctly, press Play to begin the simulation.
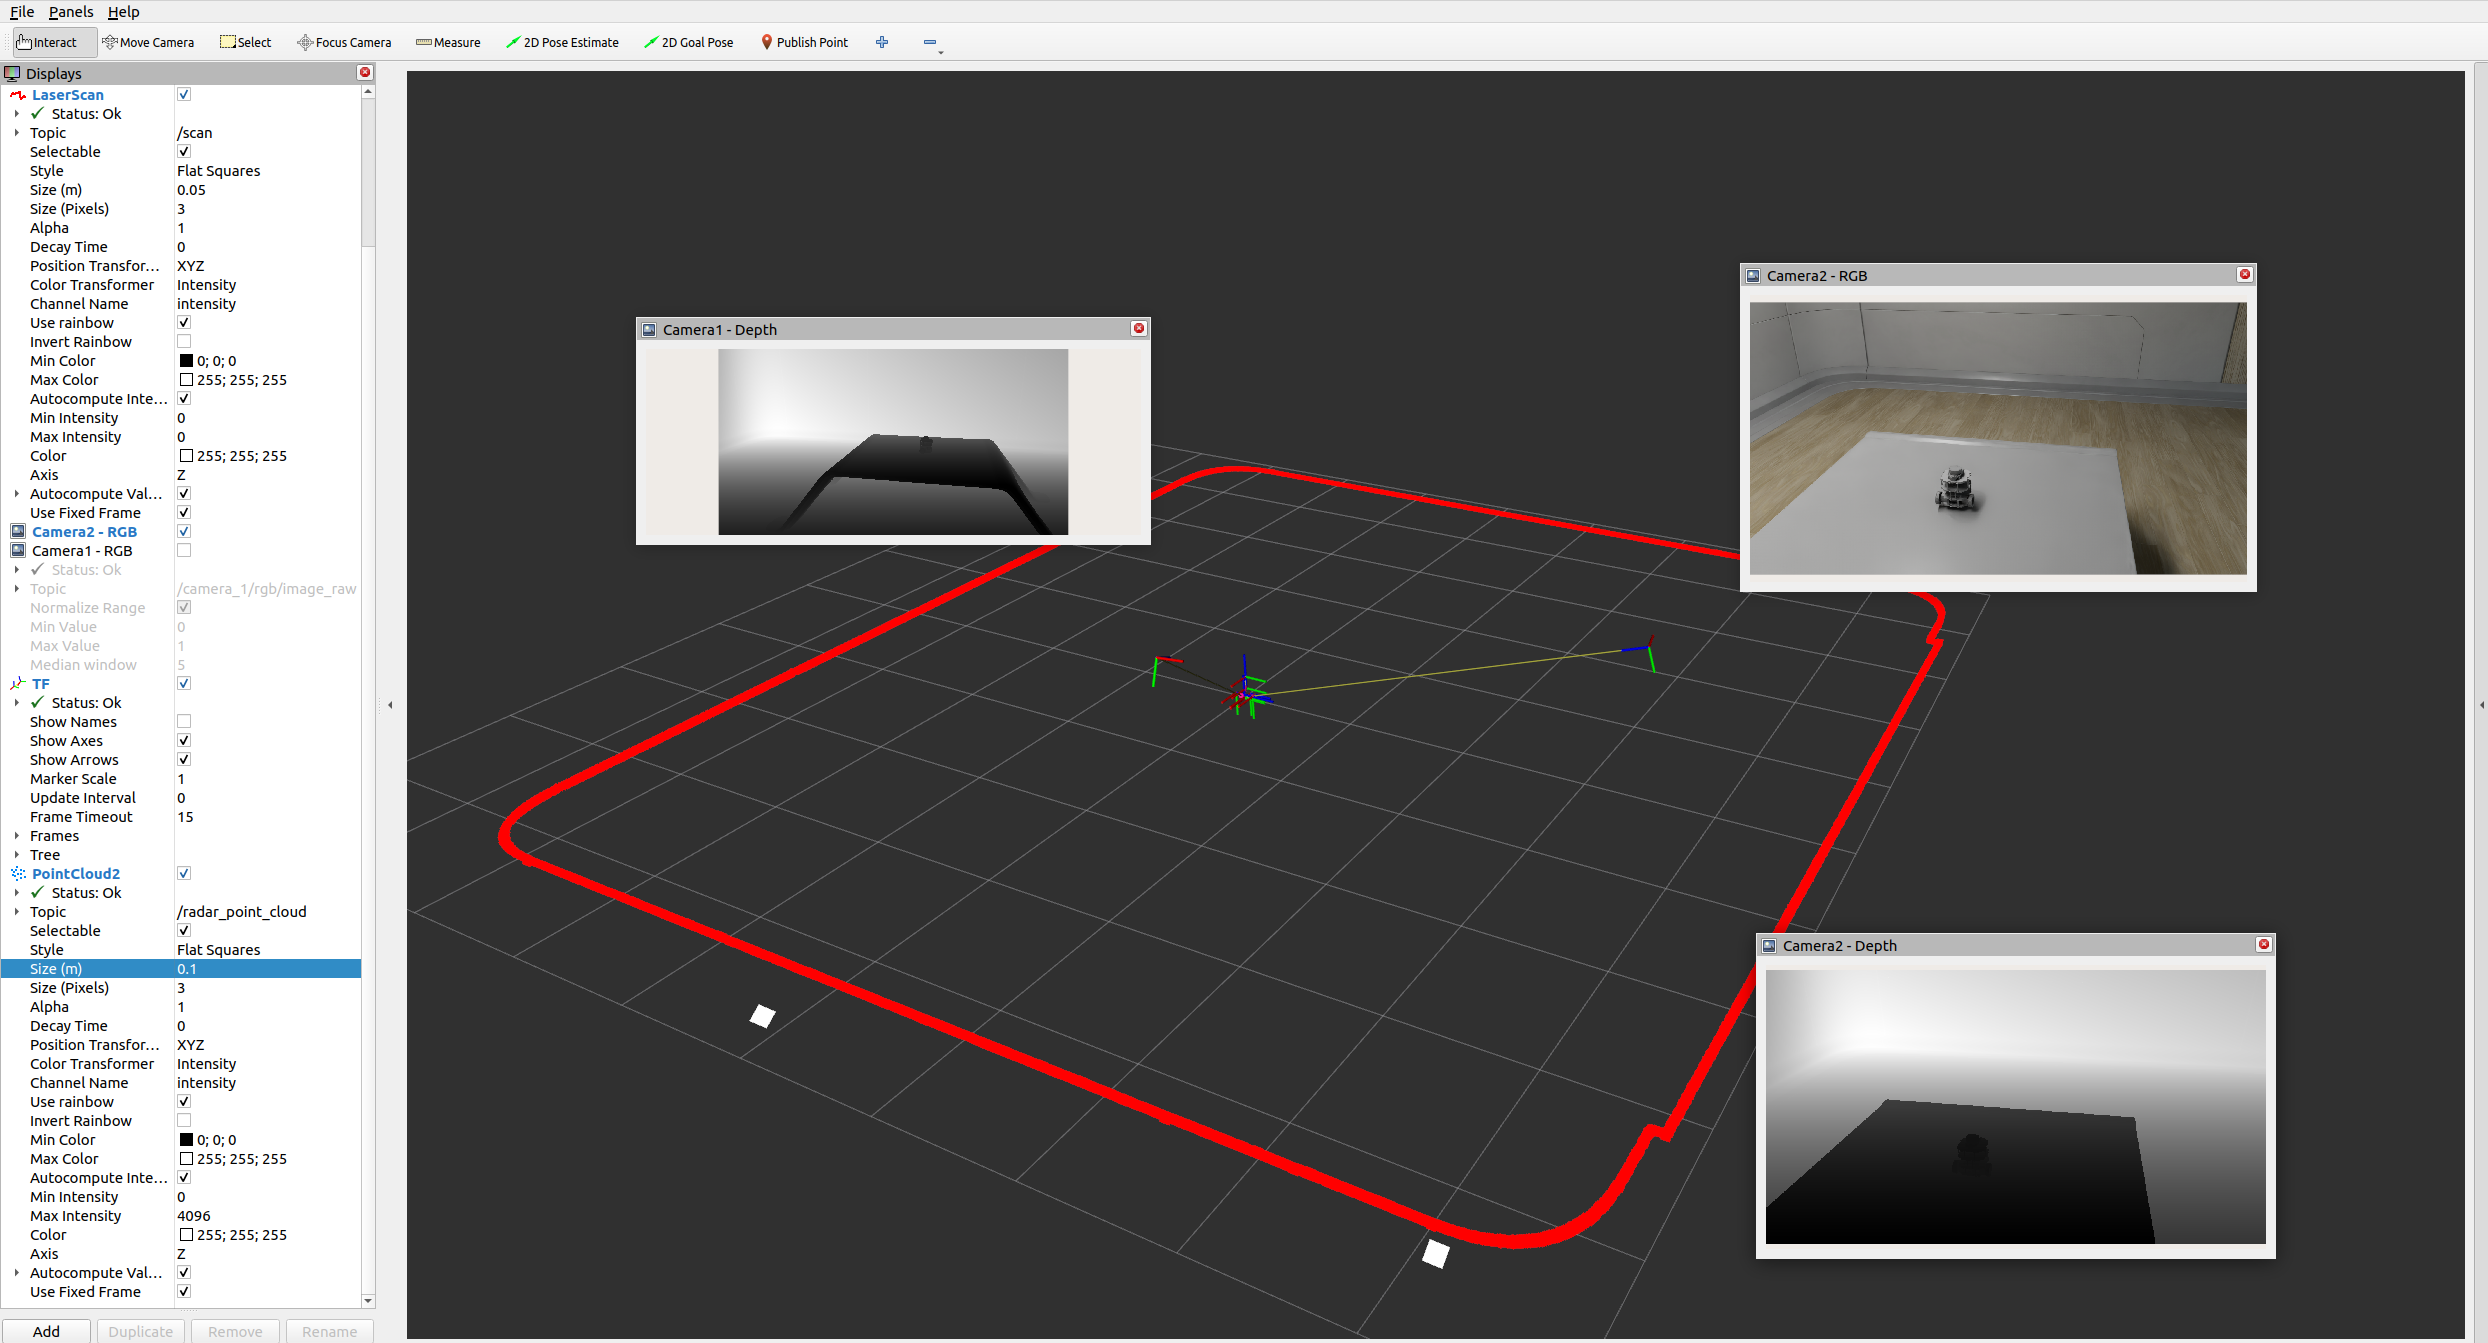
For RViz2 visualization:
Run RViz2 (
rviz2) in a sourced terminal.Set the Fixed Frame to
base_scanto match the radar’s frame ID.Add a PointCloud2 visualization and set the topic to
/radar_point_cloud.To observe the RViz image below, make sure the simulation is playing. In a ROS2-sourced terminal, open with the configuration provided using the command:
ros2 run rviz2 rviz2 -d <ros2_ws>/src/isaac_tutorials/rviz2/camera_lidar.rviz
After the RViz window finishes loading, you can enable and disable the sensor streams inside the Display panel on the left hand side. Modify the PointCloud2 visualization topic to
/radar_point_cloudto show the Radar point cloud, rather than the Lidar point cloud. Set Size (m) to0.1so the points are more visible.
Note
In the RViz2 image below, the Camera 1 - RGB window was closed because it was hiding one of the Radar returns.
Note
The generic RTX Radar sensor is configured to generate few points by default, hence typically only 1-2 points are picked up in this specific scene. Other environments and Radar configurations will generate different point clouds with possibly more points; this example is used for tutorial purposes only.
Important
Ensure that the use_sim_time ROS2 param is set to true after running the RViz2 node.
This ensures that the RViz2 node is synchronized with the simulation data especially when RViz2 interpolates position of Lidar data points.
Set the parameter using the following command in a new ROS2-sourced terminal:
ros2 param set /rviz use_sim_time true
Programmatic Setup (Script Editor)#
You can also set up the radar ROS 2 bridge programmatically. The following example creates an RTX Radar sensor and publishes its detections to ROS 2 (see Exposing Radar Metadata below for a standalone script that additionally publishes per-point radial velocity).
Note
Run this snippet from Window > Script Editor inside an already-running Isaac Sim session — it relies on an active omni.kit.app instance and stage and is not a self-contained standalone script. To run it via ./python.sh instead, wrap it in a SimulationApp boilerplate (see RTX Lidar Script Sample for an example).
import carb
import omni.graph.core as og
import omni.kit.app
from isaacsim.sensors.experimental.rtx import Radar

# This snippet uses OG nodes from isaacsim.core.nodes (IsaacCreateRenderProduct,
# OgnIsaacRunOneSimulationFrame) and isaacsim.ros2.nodes (ROS2RtxRadarHelper).
# Enable both before constructing the action graph.
ext_mgr = omni.kit.app.get_app().get_extension_manager()
ext_mgr.set_extension_enabled_immediate("isaacsim.core.nodes", True)
ext_mgr.set_extension_enabled_immediate("isaacsim.ros2.nodes", True)

# RTX Radar requires Motion BVH to be enabled.
settings = carb.settings.get_settings()
settings.set("/renderer/raytracingMotion/enabled", True)
settings.set("/renderer/raytracingMotion/enableHydraEngineMasking", True)
settings.set("/renderer/raytracingMotion/enabledForHydraEngines", "0,1,2,3,4")

# Create radar
radar = Radar(path="/Radar")

# Create the OmniGraph (mirrors the action graph built by the GUI workflow above).
og.Controller.edit(
    {"graph_path": "/ActionGraph", "evaluator_name": "execution"},
    {
        og.Controller.Keys.CREATE_NODES: [
            ("OnPlaybackTick", "omni.graph.action.OnPlaybackTick"),
            ("RunOnce", "isaacsim.core.nodes.OgnIsaacRunOneSimulationFrame"),
            ("CreateRenderProduct", "isaacsim.core.nodes.IsaacCreateRenderProduct"),
            ("RadarHelper", "isaacsim.ros2.bridge.ROS2RtxRadarHelper"),
        ],
        og.Controller.Keys.SET_VALUES: [
            ("CreateRenderProduct.inputs:cameraPrim", radar.paths[0]),
            ("RadarHelper.inputs:topicName", "radar_point_cloud"),
            ("RadarHelper.inputs:frameId", "radar"),
        ],
        og.Controller.Keys.CONNECT: [
            ("OnPlaybackTick.outputs:tick", "RunOnce.inputs:execIn"),
            ("RunOnce.outputs:step", "CreateRenderProduct.inputs:execIn"),
            ("CreateRenderProduct.outputs:execOut", "RadarHelper.inputs:execIn"),
            ("CreateRenderProduct.outputs:renderProductPath", "RadarHelper.inputs:renderProductPath"),
        ],
    },
)
Exposing Radar Metadata#
The ROS2 RTX Radar Helper node supports optional per-point metadata fields in the PointCloud2 message:
outputRadialVelocityMS: Include per-point radial velocity (m/s). Requires the OmniRadar prim to be created with
Radar(path, aux_output_level="BASIC")(or have_replicator:rendervar:GenericModelOutput:channels = ["BASIC"]authored on it). See Auxiliary Output Level and the GenericModelOutput RenderVar for known issues and more details, including how to set the attribute via the UI.outputIntensity: Include per-point intensity values.
outputTimestamp: Include per-point timestamps.
Standalone Example: Radial Velocity#
The example below shows how to create an RTX Radar sensor and publish radial velocity metadata to ROS 2, such that the point cloud can be colored by the radial velocity when visualized. The example creates two rigid bodies moving cyclically towards and away from the radar, such that the radial velocity is non-zero for each point in the point cloud.
Run the sample script:
./python.sh standalone_examples/api/isaacsim.ros2.bridge/rtx_radar.pyIn a new terminal with your ROS2 environment sourced, run the following command to start RViz and show the Radar point cloud. Replace
ros2_wswithhumble_wsorjazzy_wsas appropriate.rviz2 -d <ros2_ws>/src/isaac_tutorials/rviz2/rtx_radar.rviz
After the scene finishes loading, verify that you observe the point cloud returns colored by the radial velocity and changing over time as the rigid bodies accelerate and decelerate cyclically.
Summary#
This tutorial covered:
How to create an RTX Radar sensor and attach it to a robot in Isaac Sim.
Publishing radar detections to ROS 2 as PointCloud2 messages using the
ROS2 RTX Radar HelperOmniGraph node.Enabling per-point radial velocity metadata in the published messages.
Visualizing radar data in RViz2.
Next Steps#
Continue on to the next tutorial in our ROS2 Tutorials series, ROS 2 Quality of Service (QoS), to learn about setting QoS Profiles for ROS 2 OmniGraph nodes in NVIDIA Isaac Sim.
Further Learning#
Auto-generated topic namespaces driven by the radar prim path (via
renderProductPath) are covered in Automatic ROS 2 Namespace Generation.